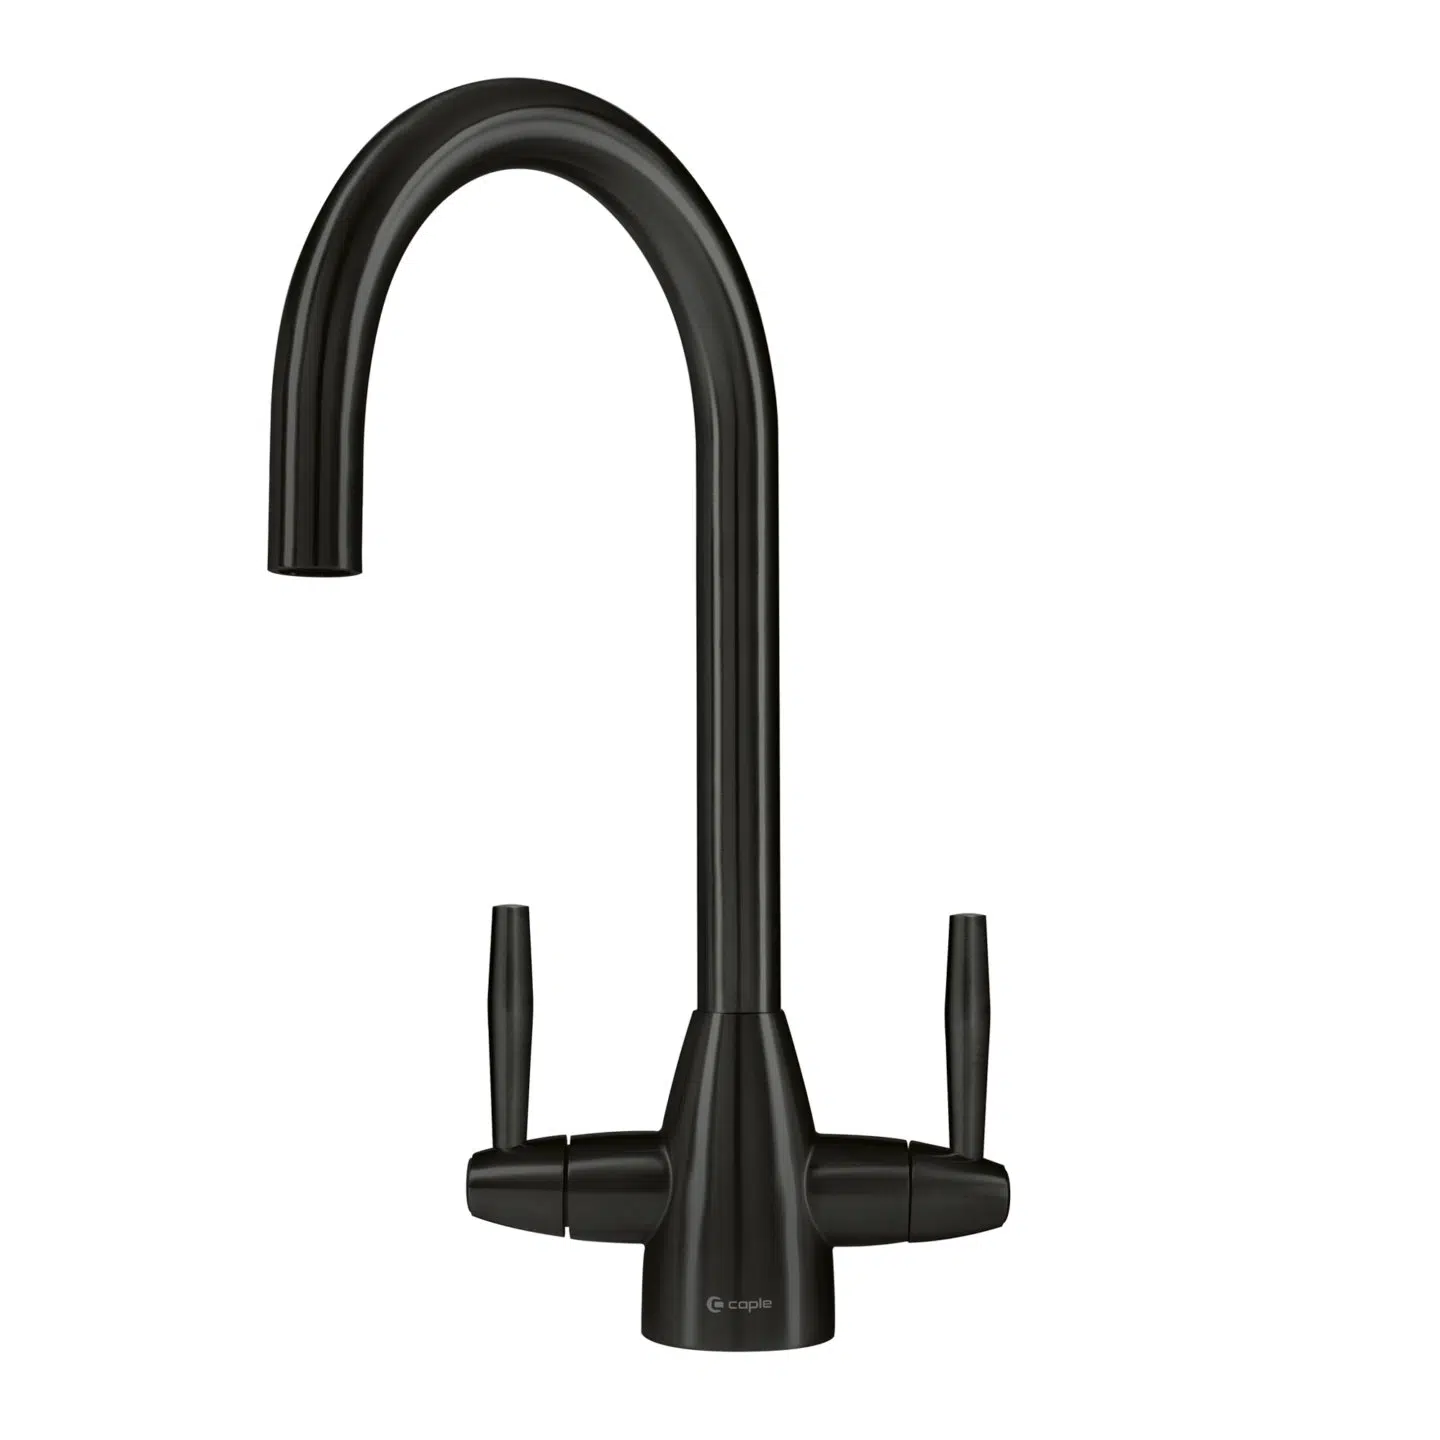
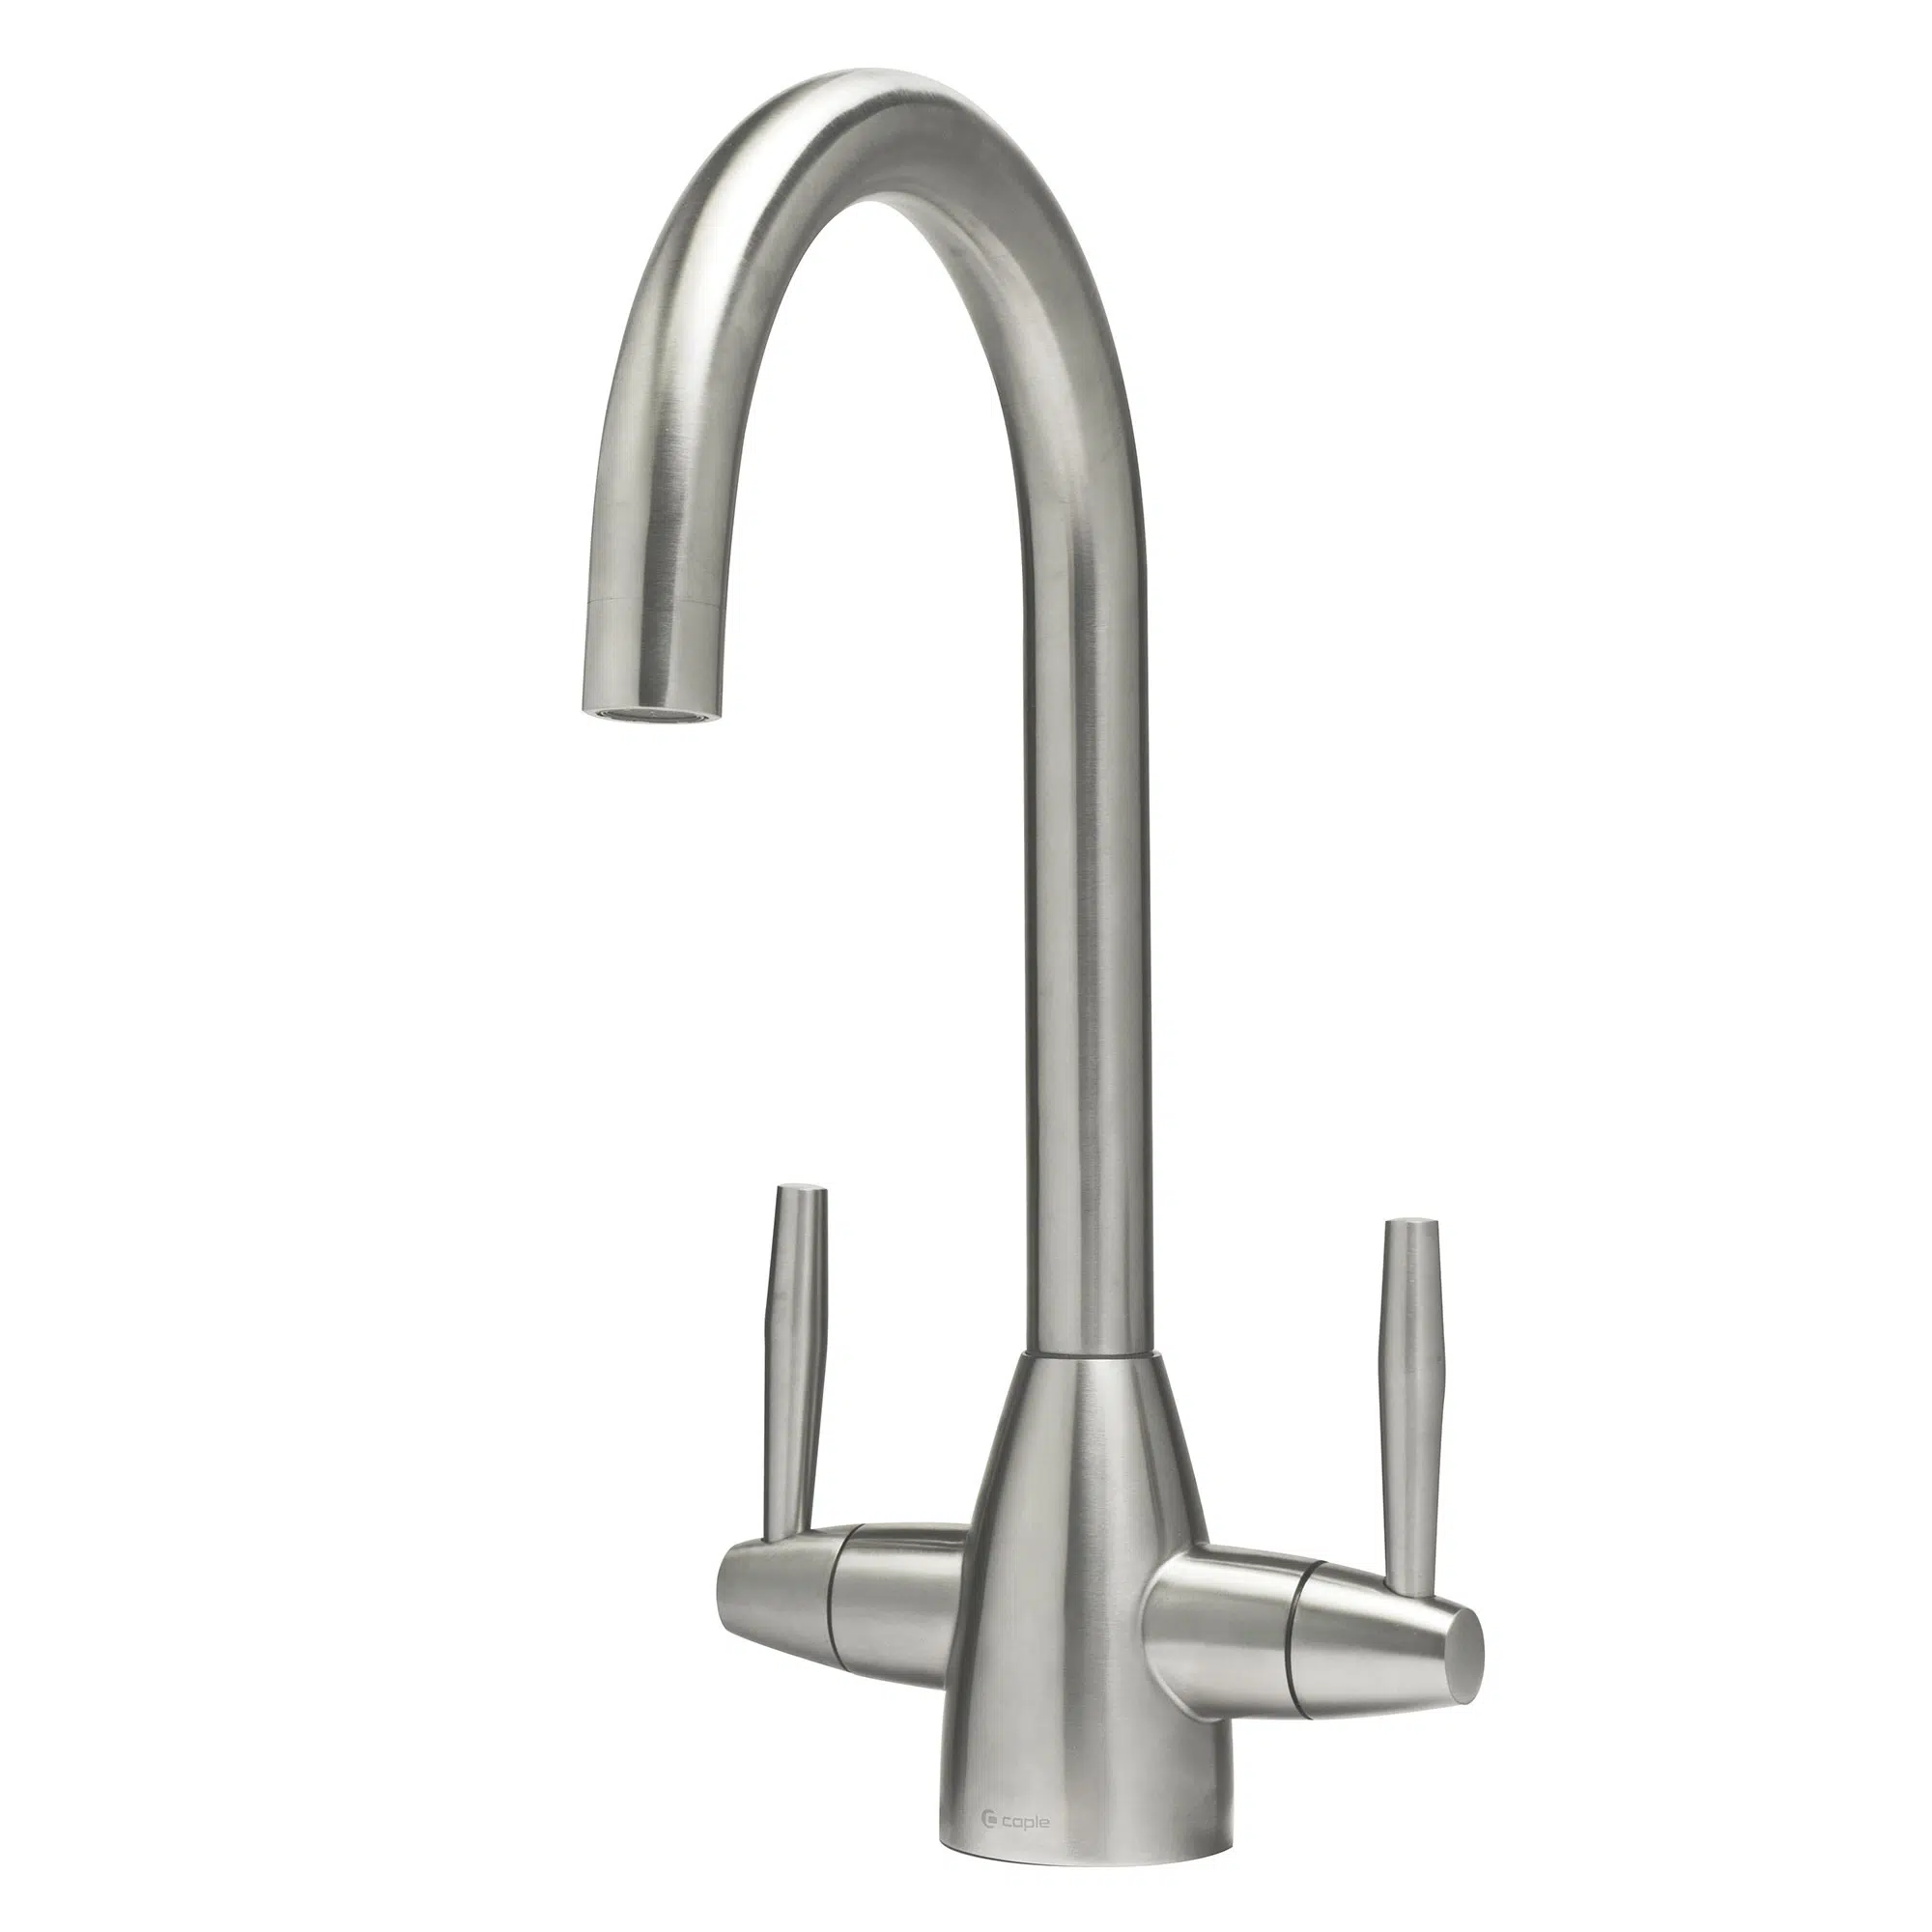
1: Check tap is level & in correct position.
2: Make sure fixing brackets (22, 24 & 25) are in place.
3: Tighten fixing bolt (23) & fixing nut (26) to tap so applying pressure to secure tap against worktop

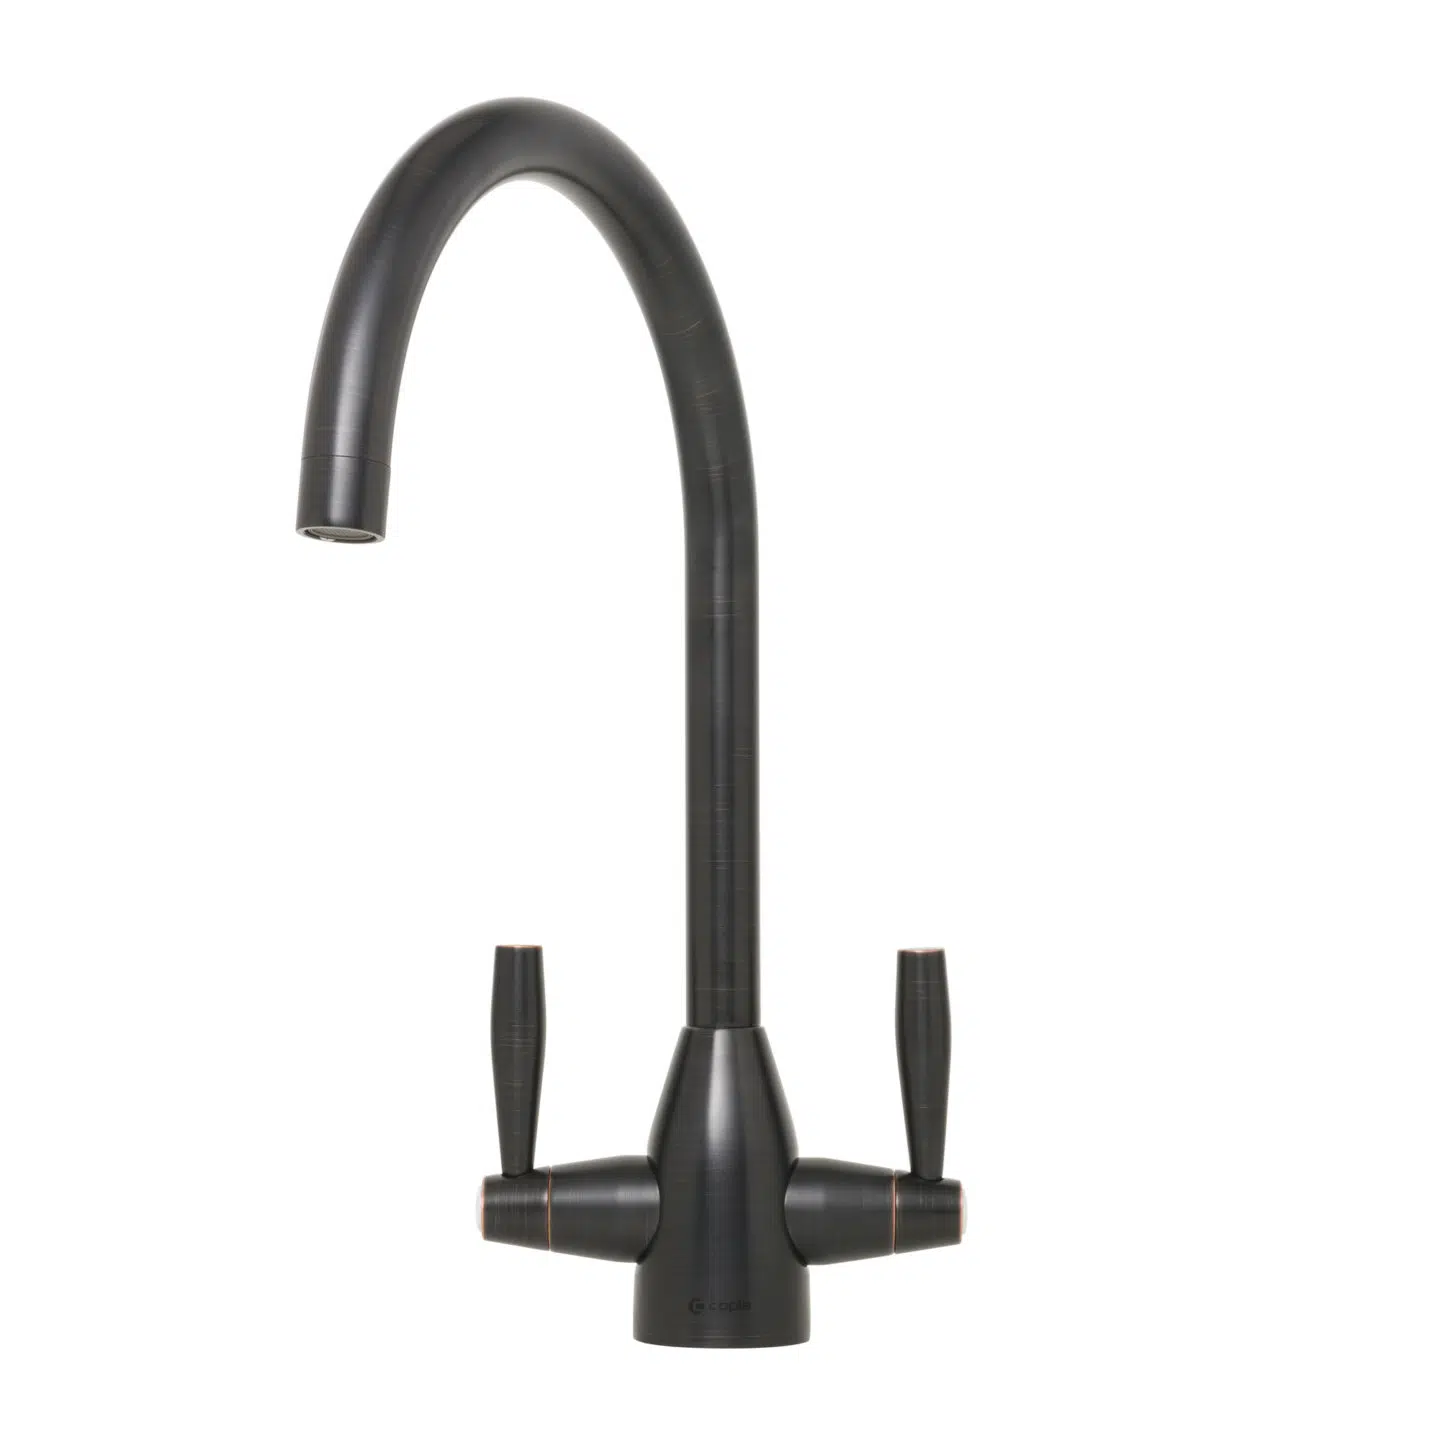
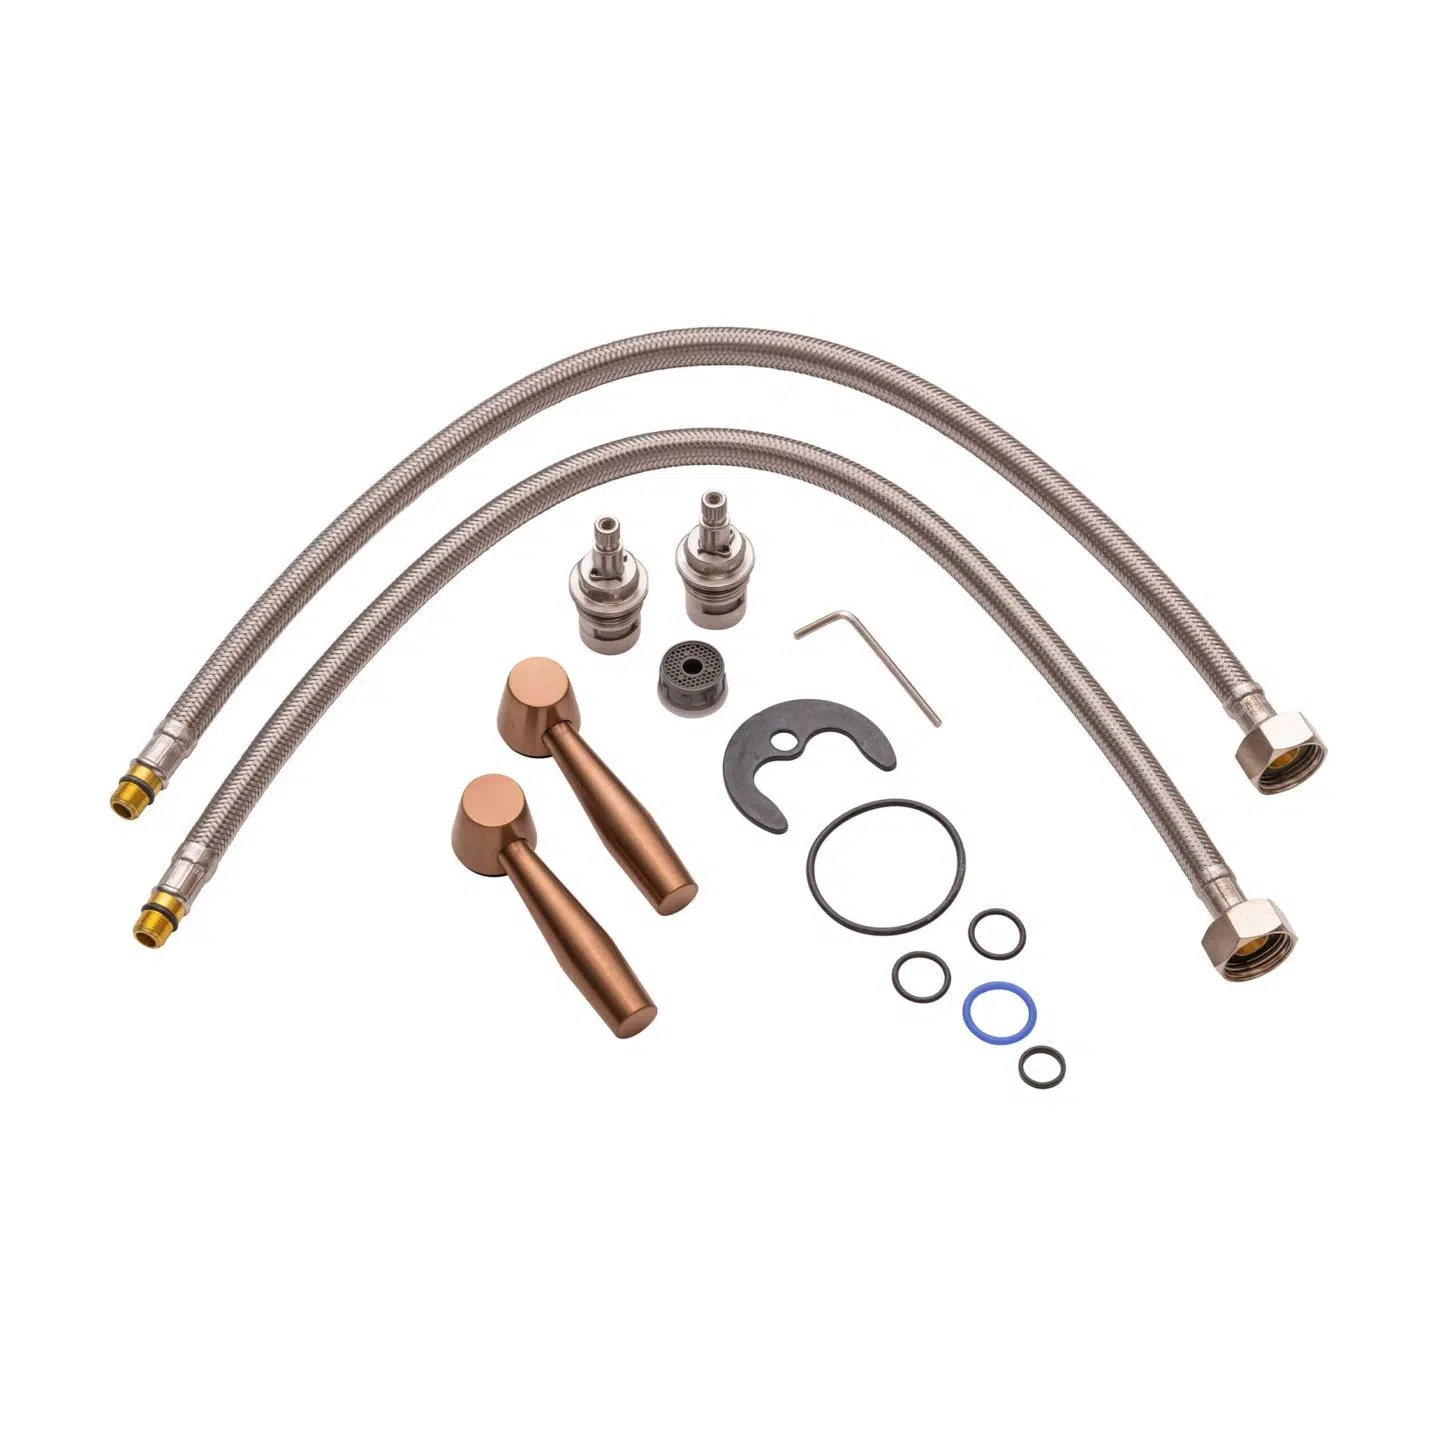
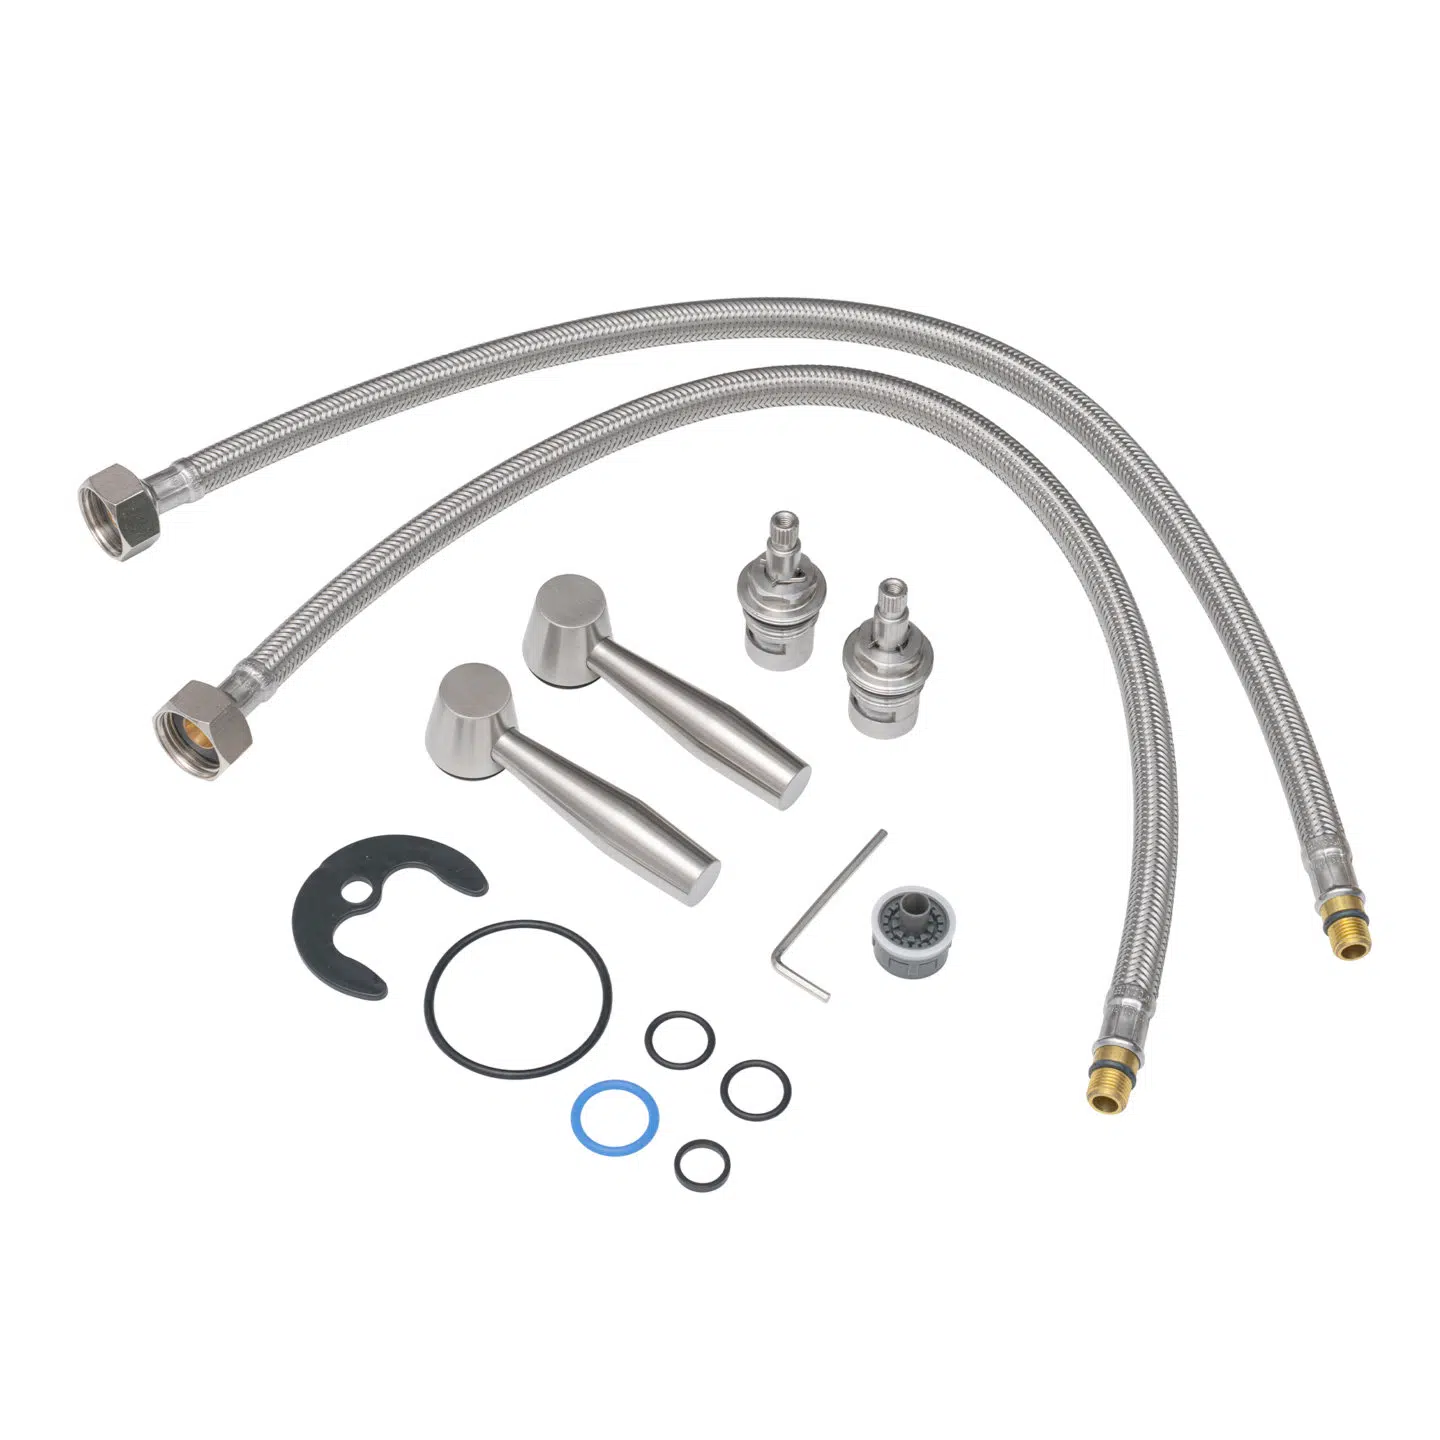
1: Whilst holding the spout (5) unscrew the spout end (6).
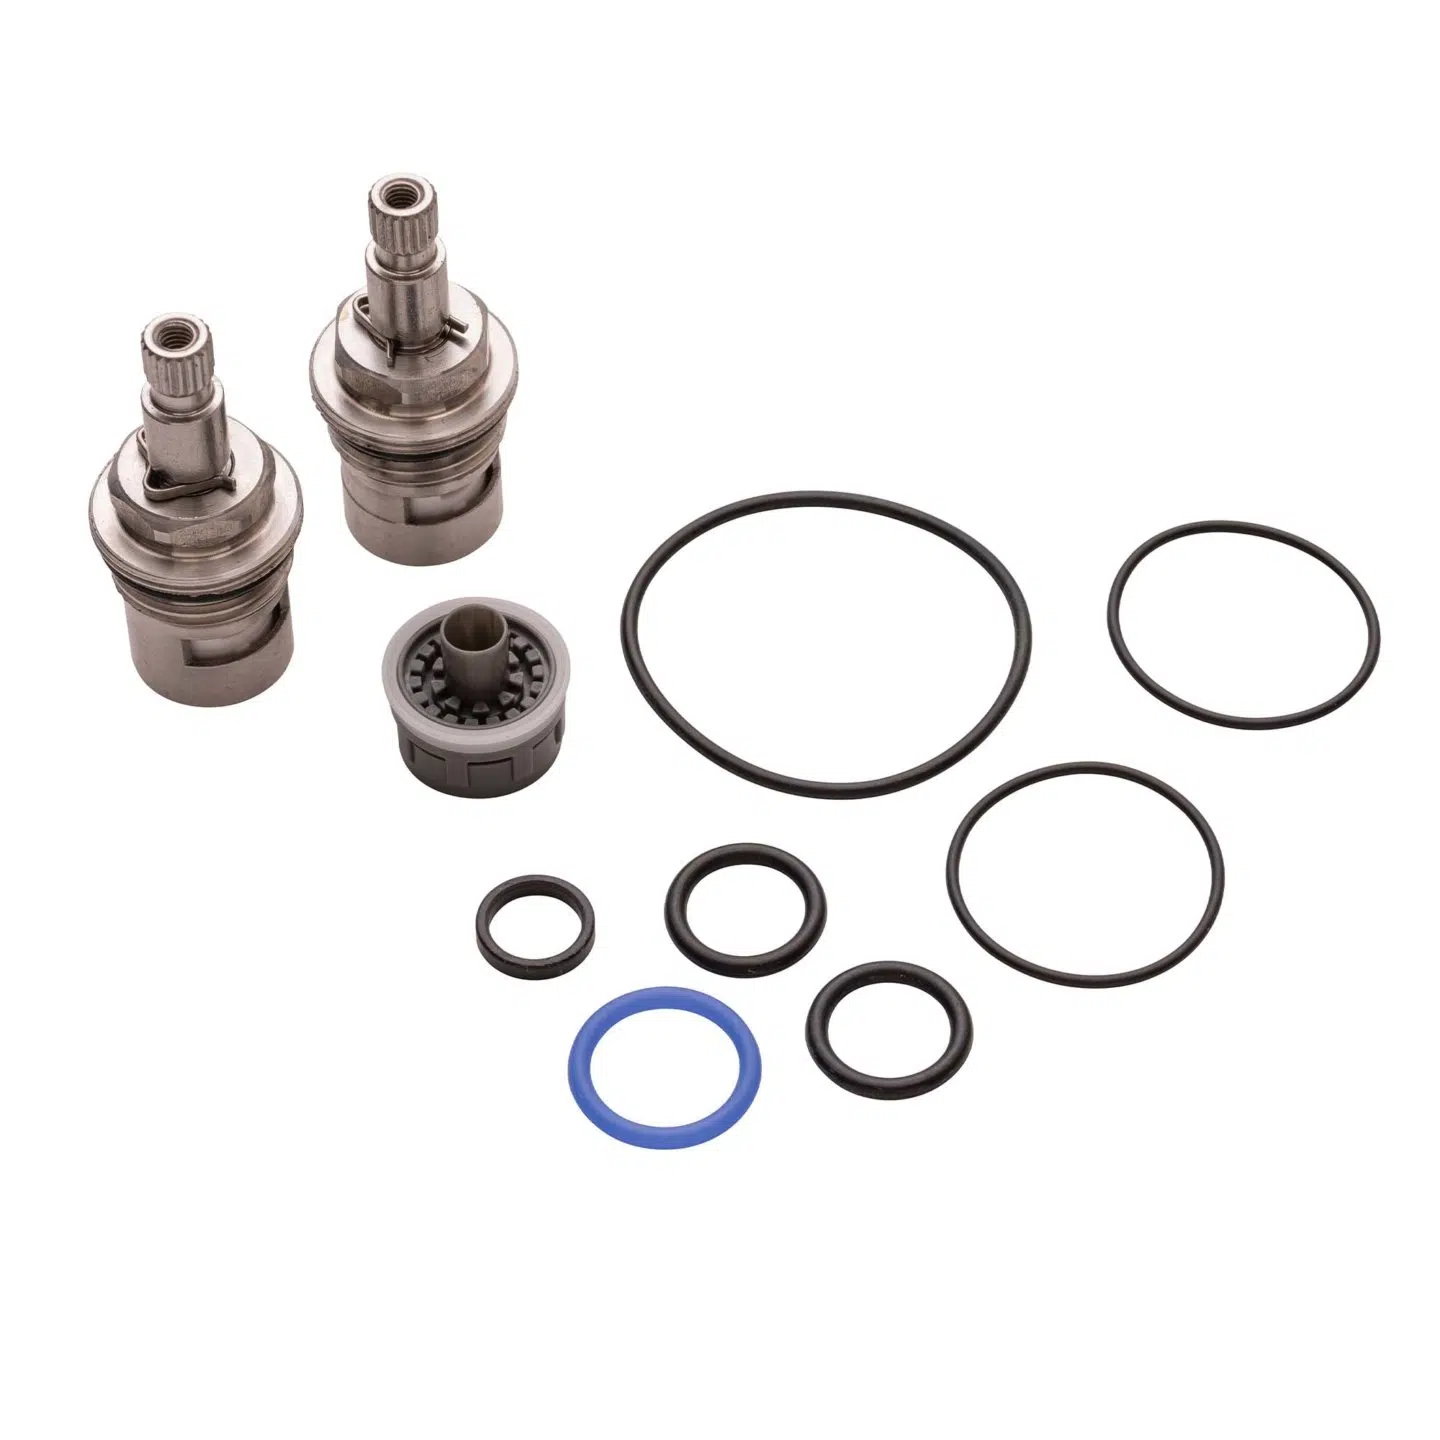
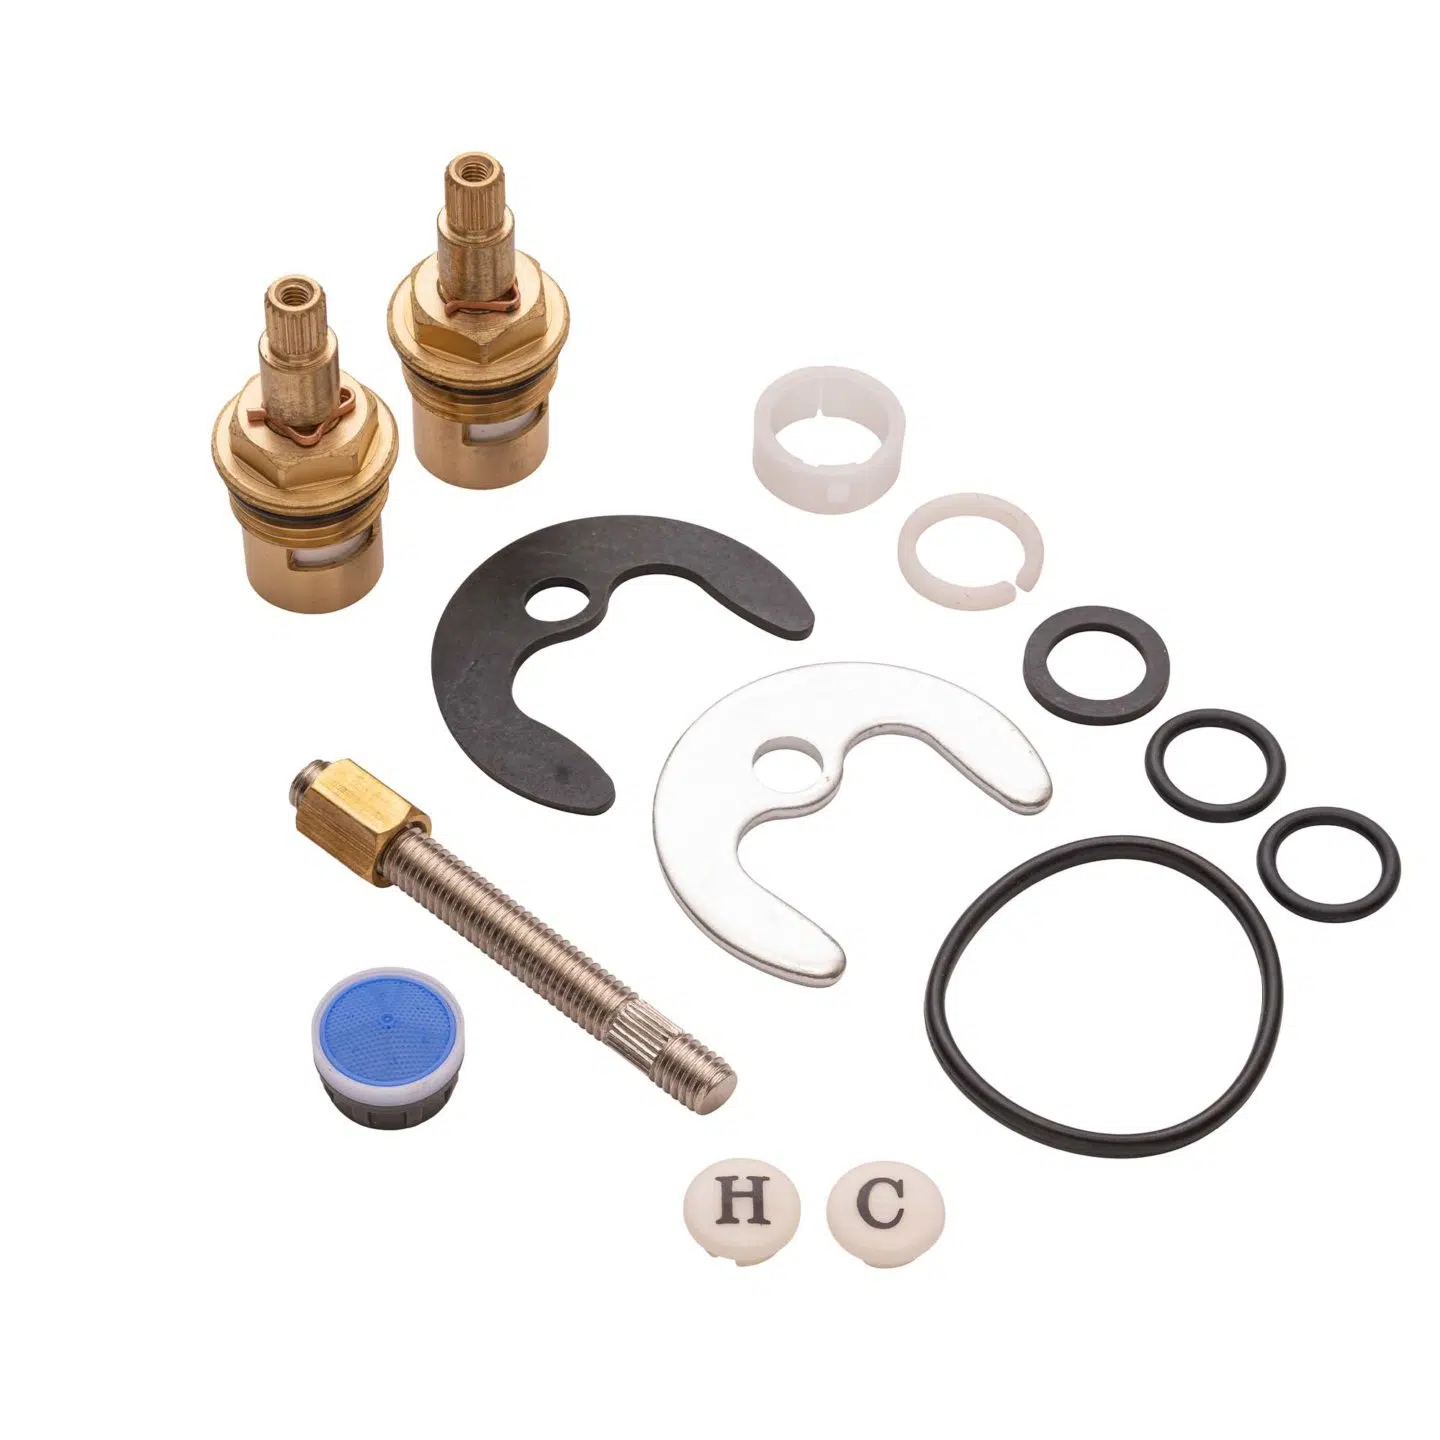
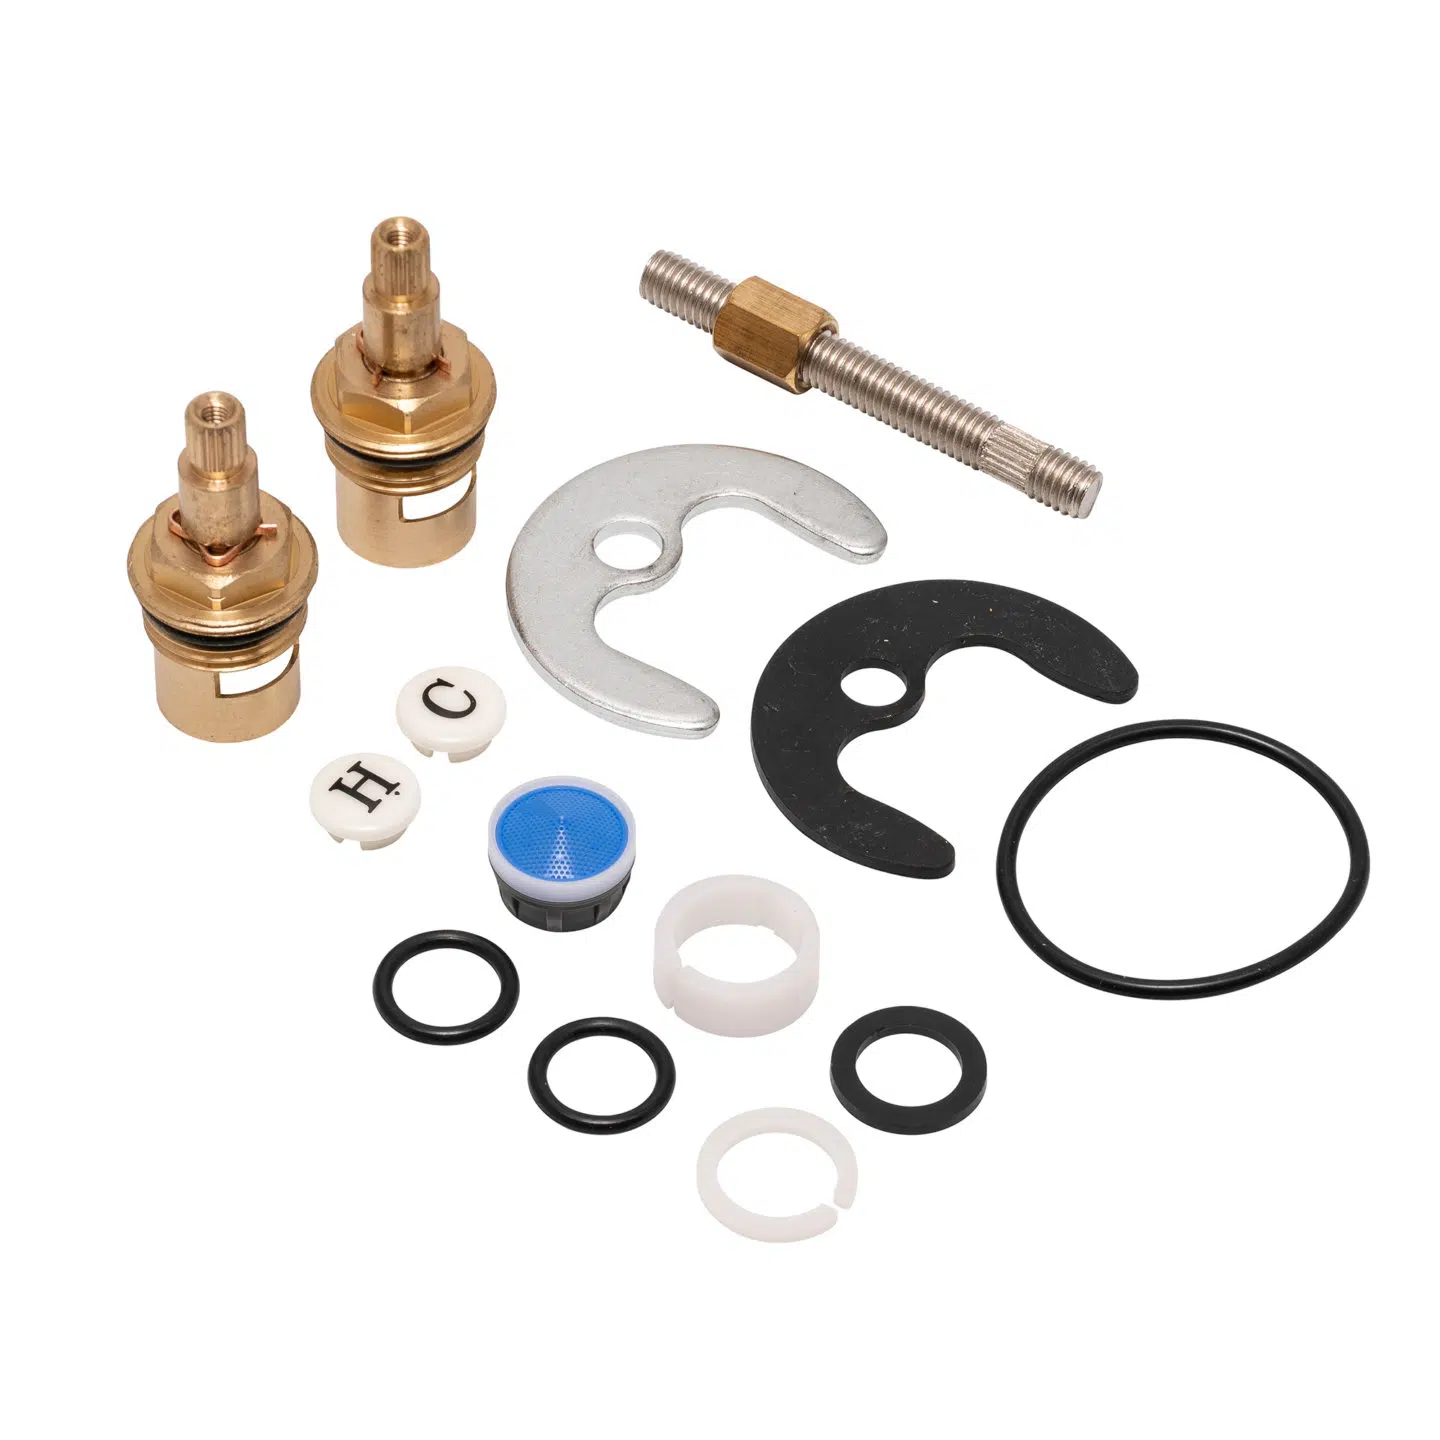
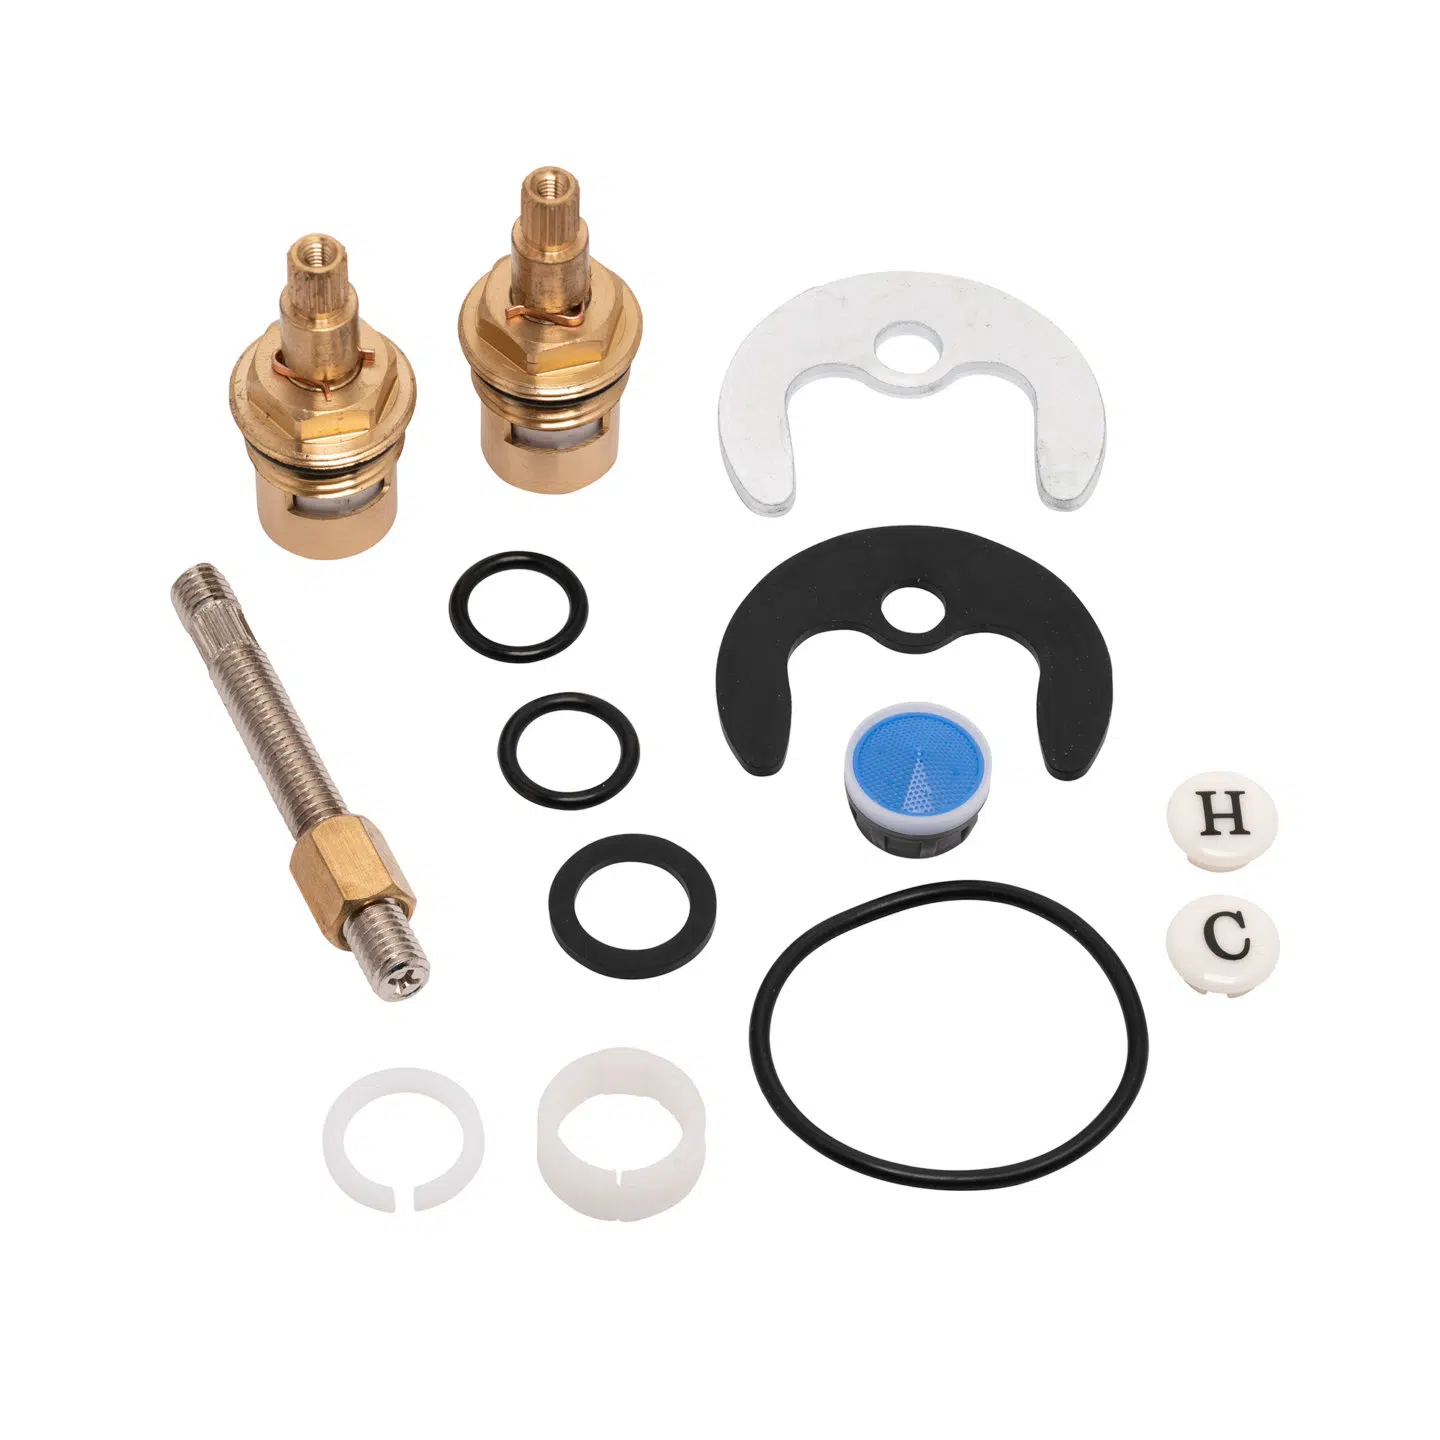
2: Remove aerator (7) & check washer (8) if worn or damaged replace.
3: Fit new aerator (7) into spout end (6) & washer (8) if worn or damaged.
4: Fit spout end (6) back onto spout (5).
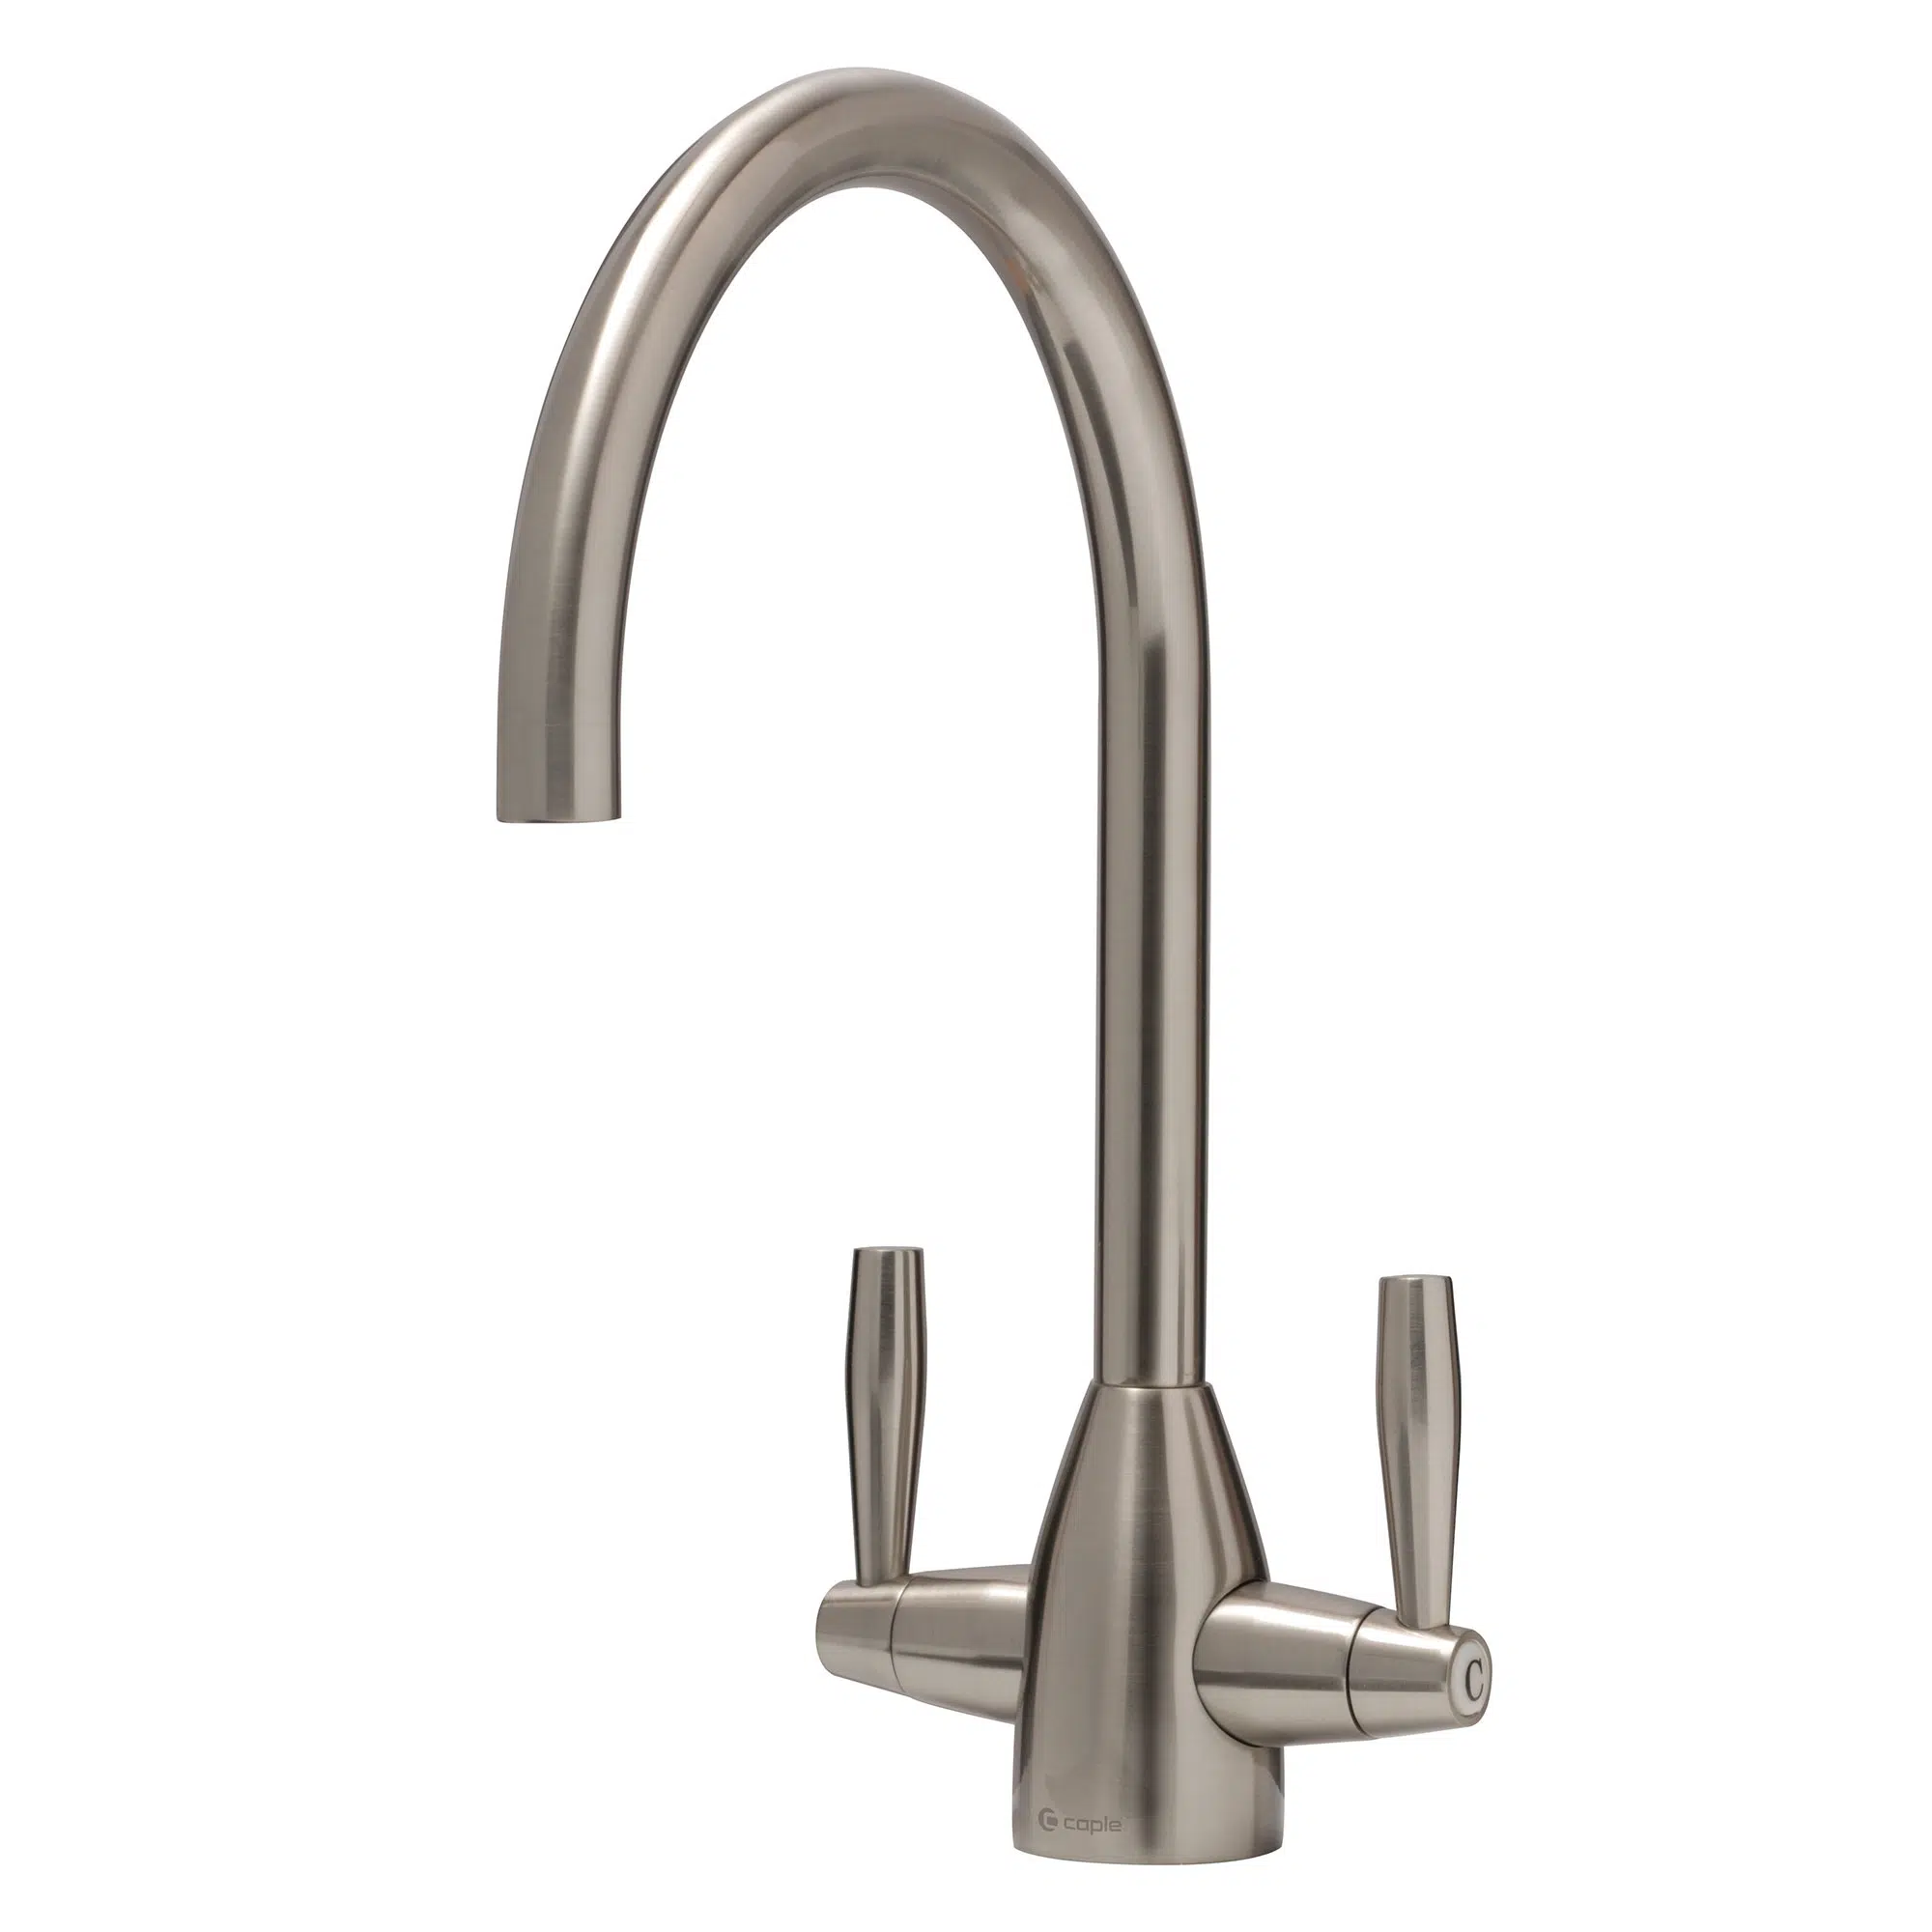
1: Loosen or remove grub screw (12) & lift off spout (5) from main tap body (1).
2: Clean any dirt/debris from the tap chamber/body (1), make sure area is clean.
3: Fit new spout (5) & ensuring O-rings (10) are fitted on spout & are lubricated (use silicone if required) & plastic washers are in place.
4: Refit grub screw (12) & tighten
.
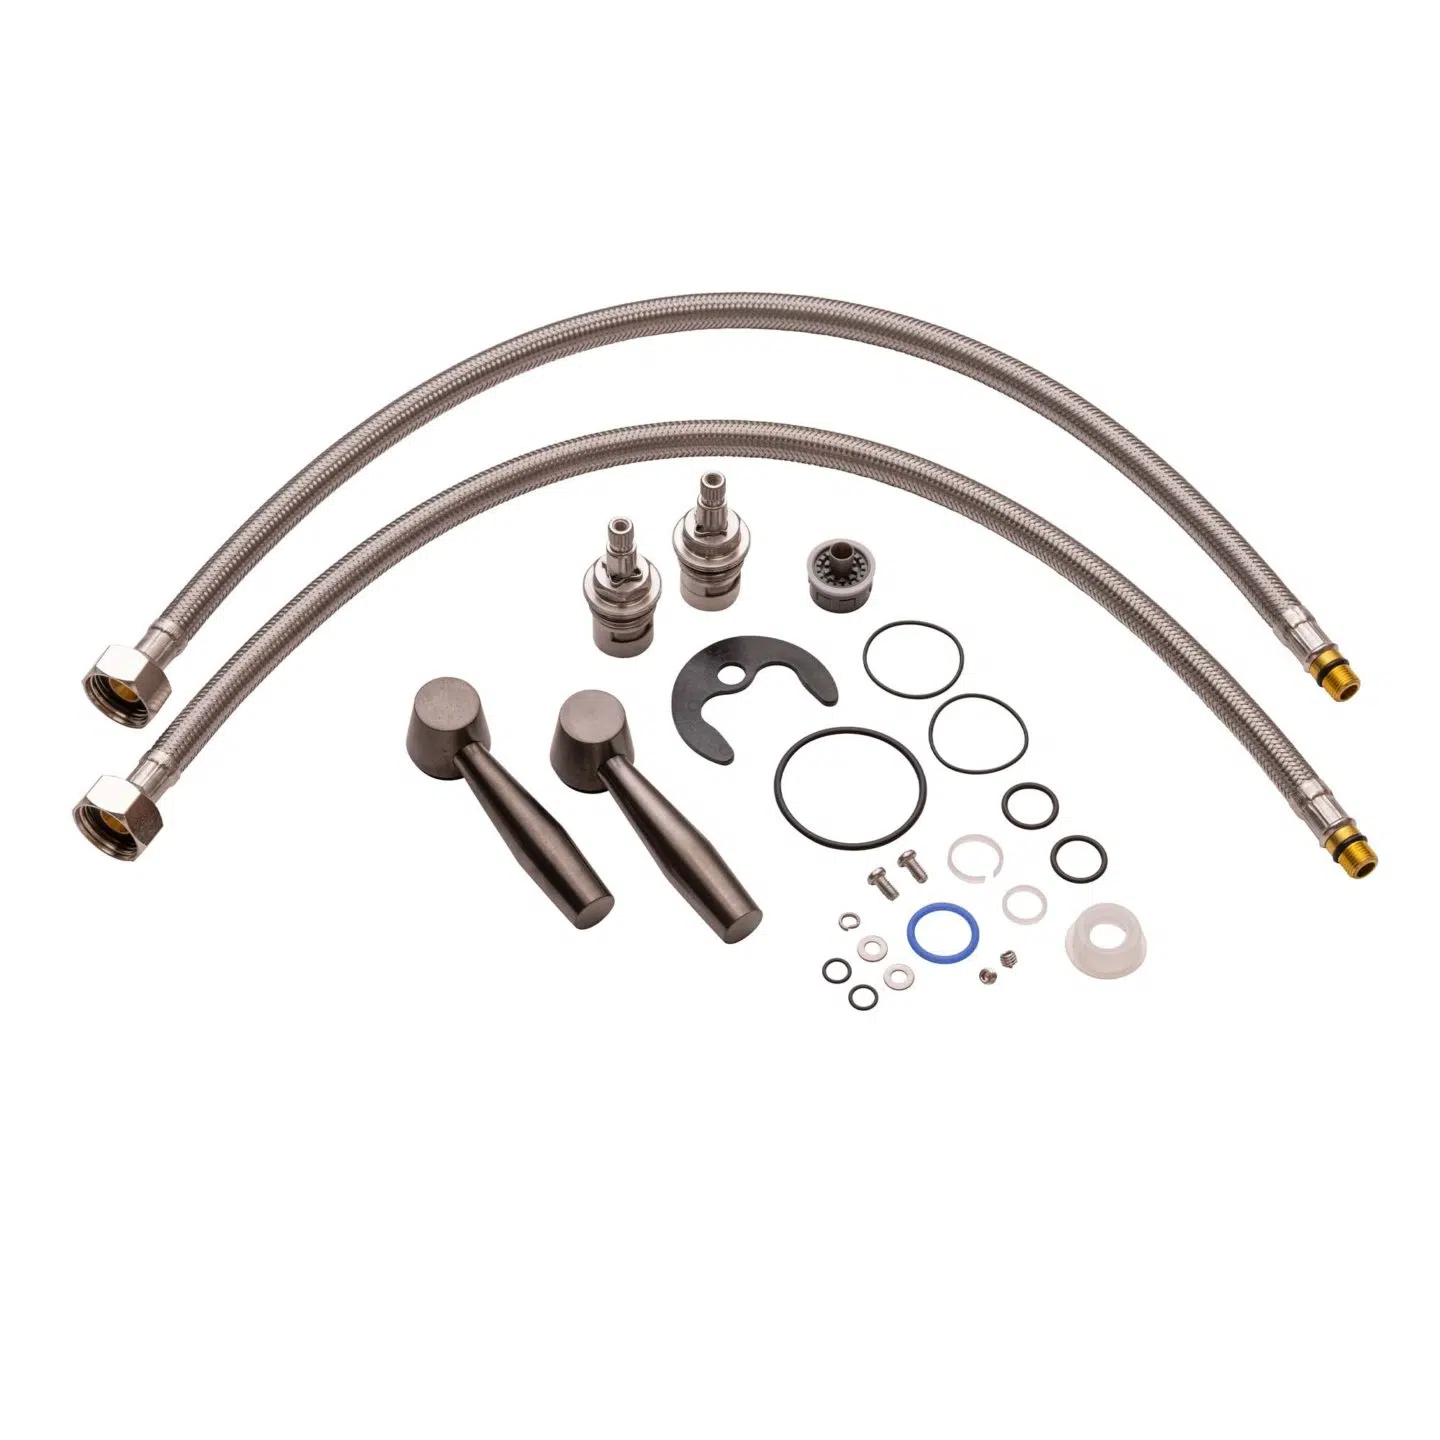
1: Using a small, thin flat screwdriver (glasses type) or fingernail lever H or C indices (20) away from the handle (14).
2: Using a Phillips screwdriver remove fixing screw (18) which will allow the handle (14) & cowling cover (13) to be removed.
3: Using a 17mm socket or spanner remove the hot or cold valve (4)
4: Clean any dirt/debris from the tap chamber/body (1), make sure area is clean.
4: Fit new valve (4), ensure all O-rings are lubricated & not dry (use silicone if required).
5: Reassemble the tap in reverse order.